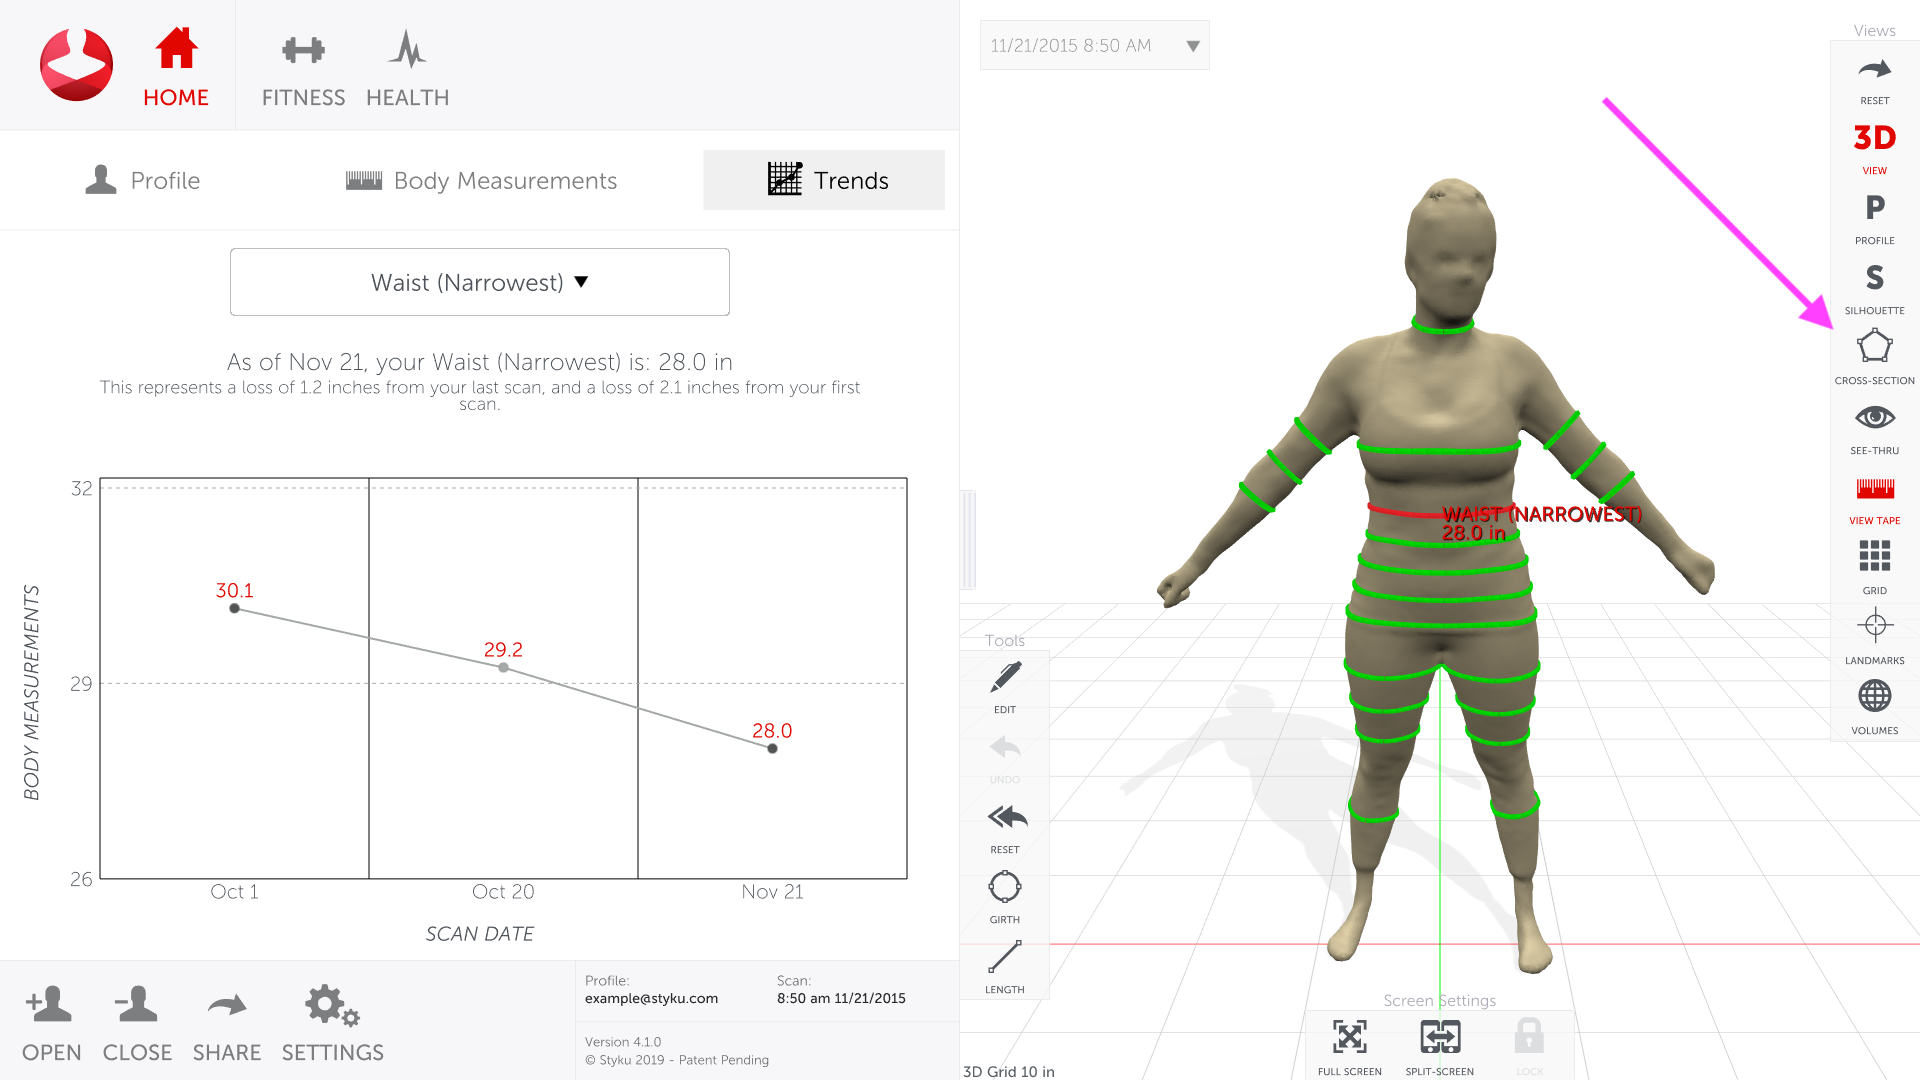
Option 1 : Compare before-and-after measurements using the Trends view.
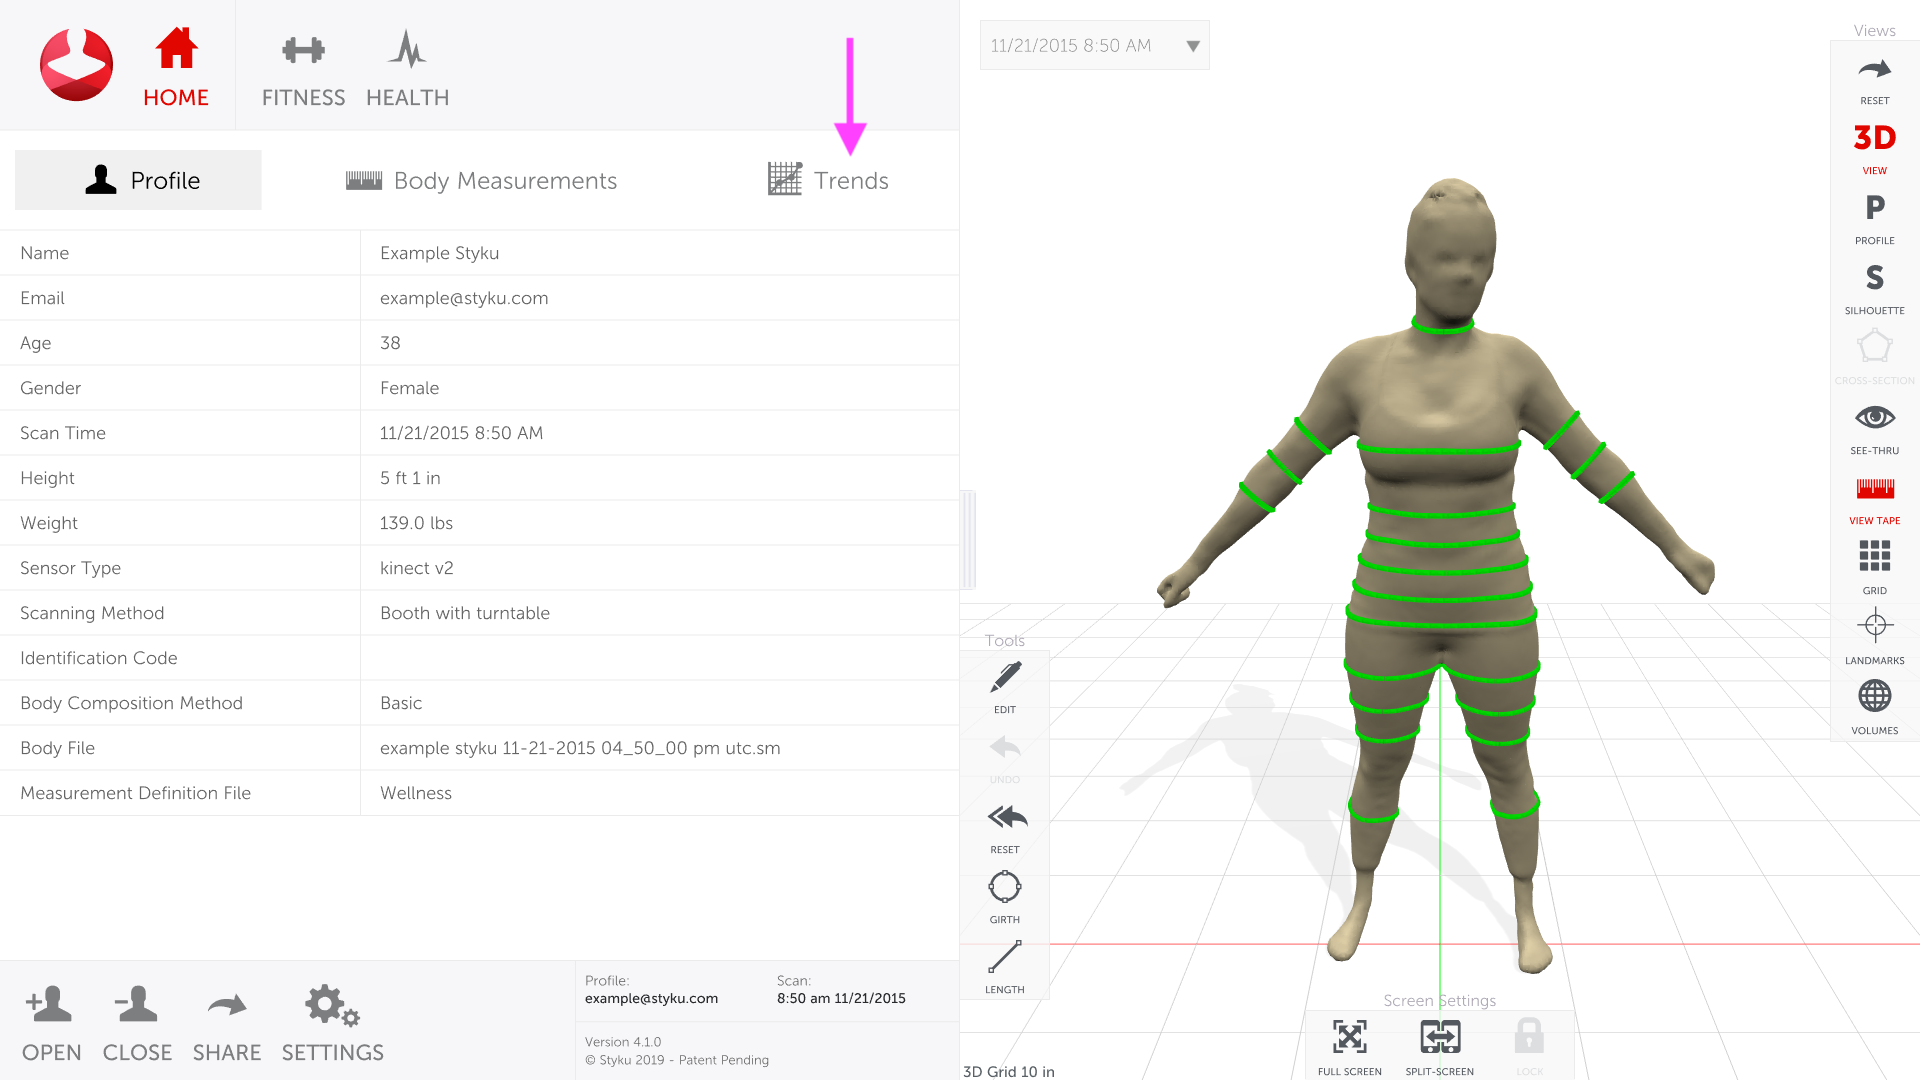
Step 1: Load two or more scans on different days, and press the Trends tab.
How to load scans
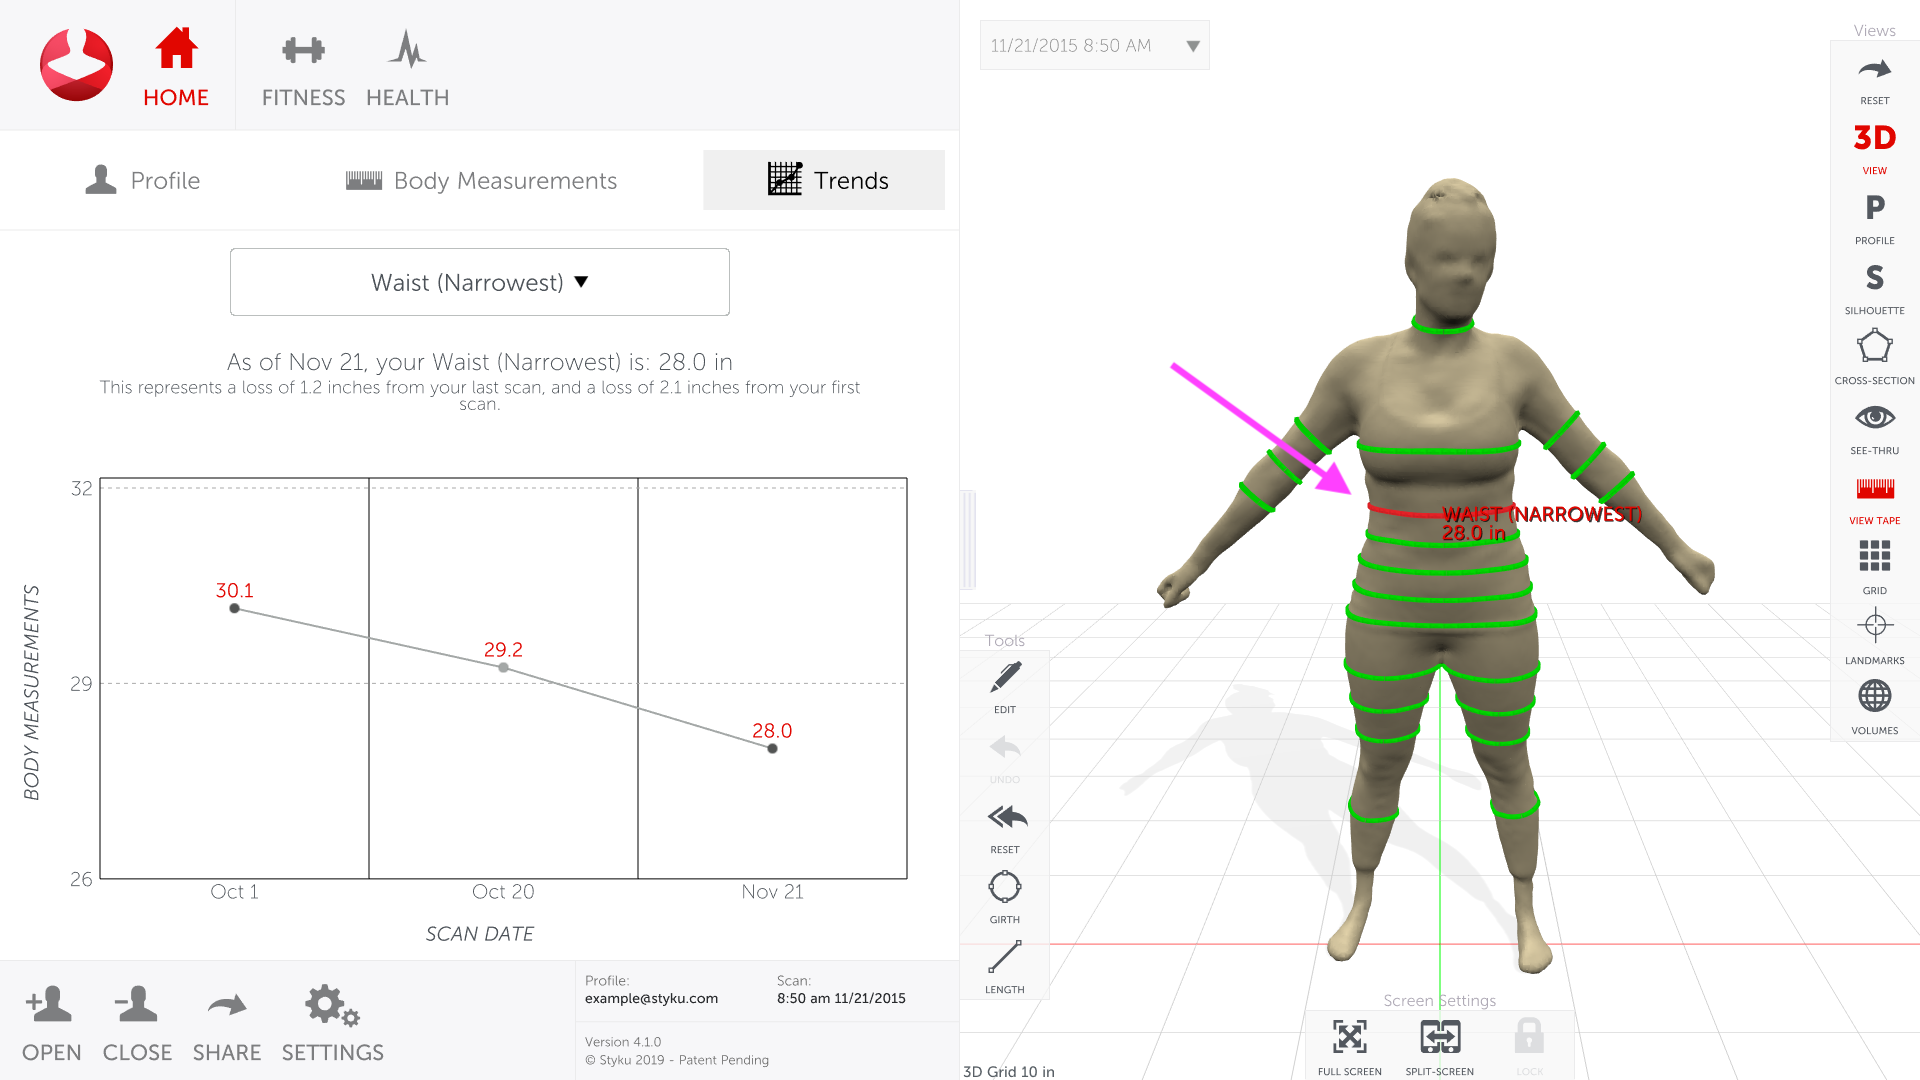
Step 2: Choose a measurement on the body (green line) to show the progress graph for the selected measurement. The selected measurement will highlight in red.
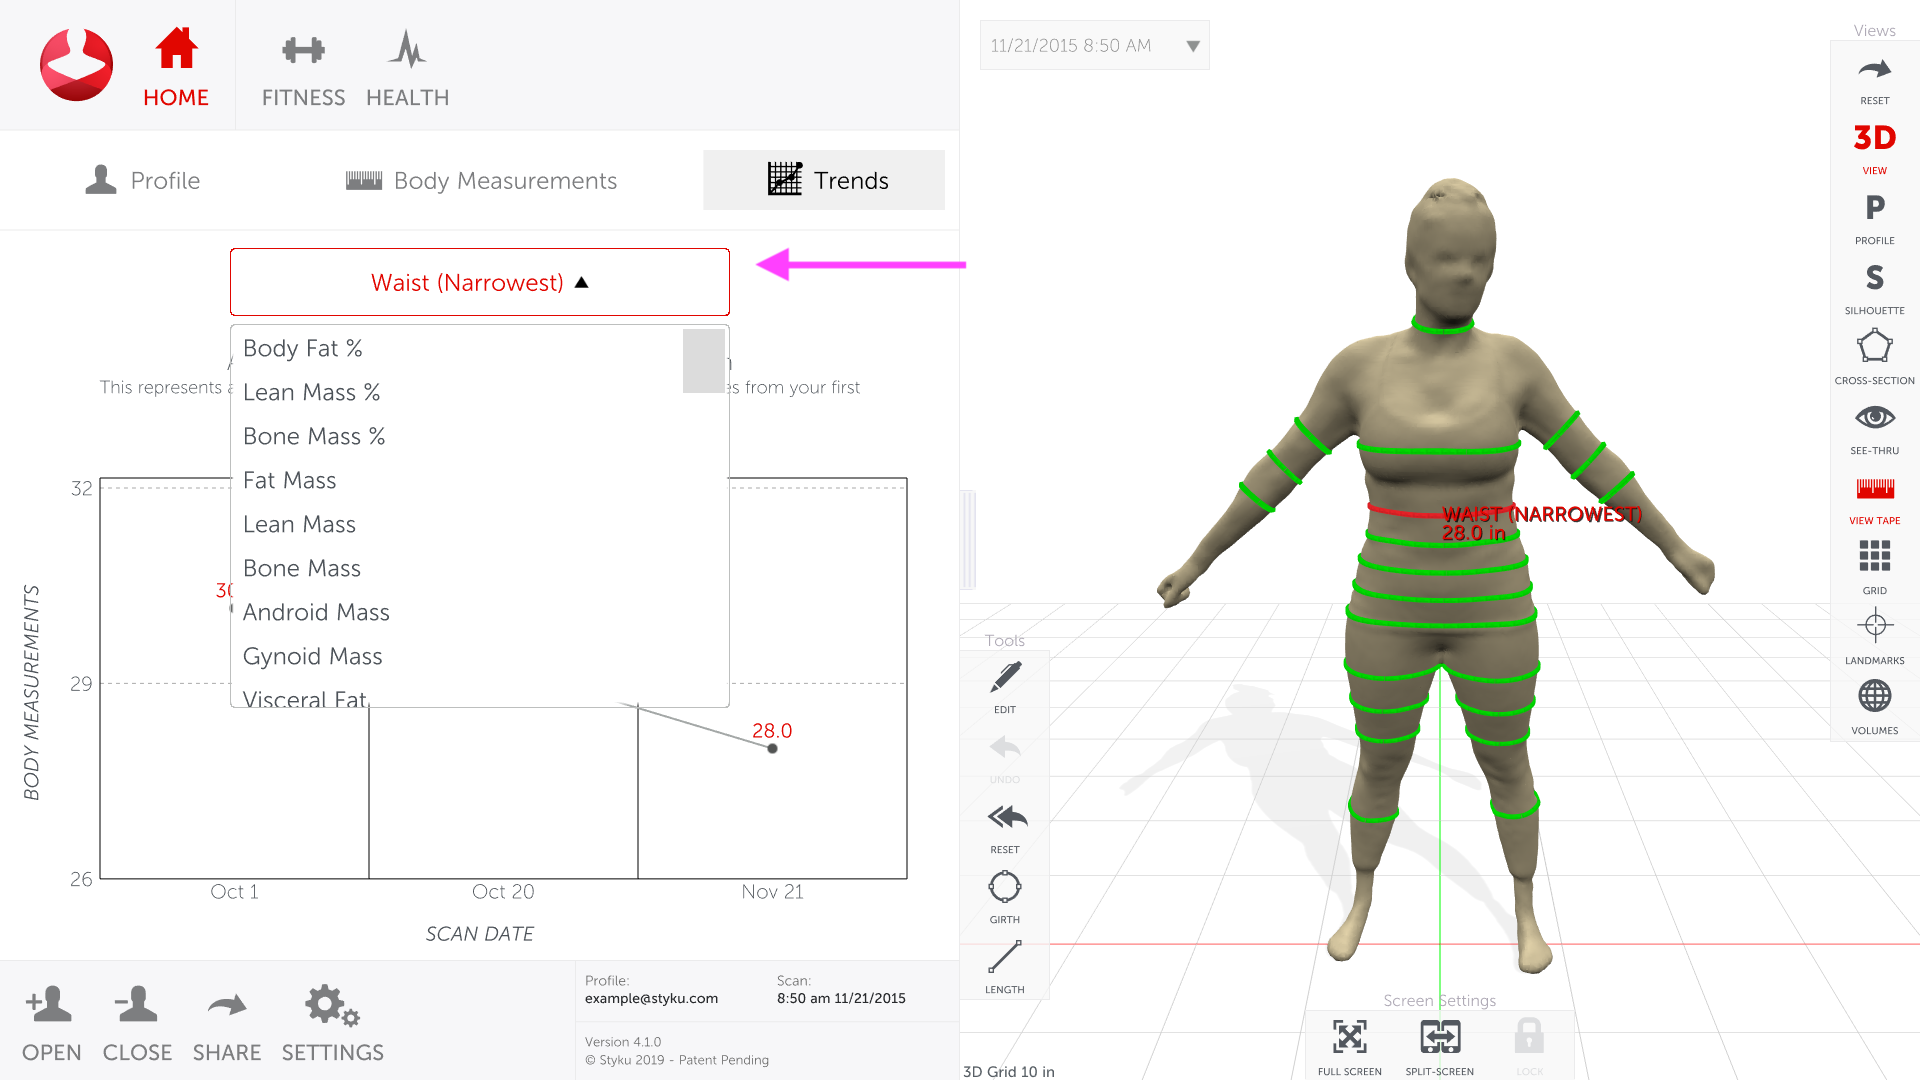
Step 3: Any measurement can be selected by pressing the dropdown menu. Click the measurement name above the graph to choose the measurement.
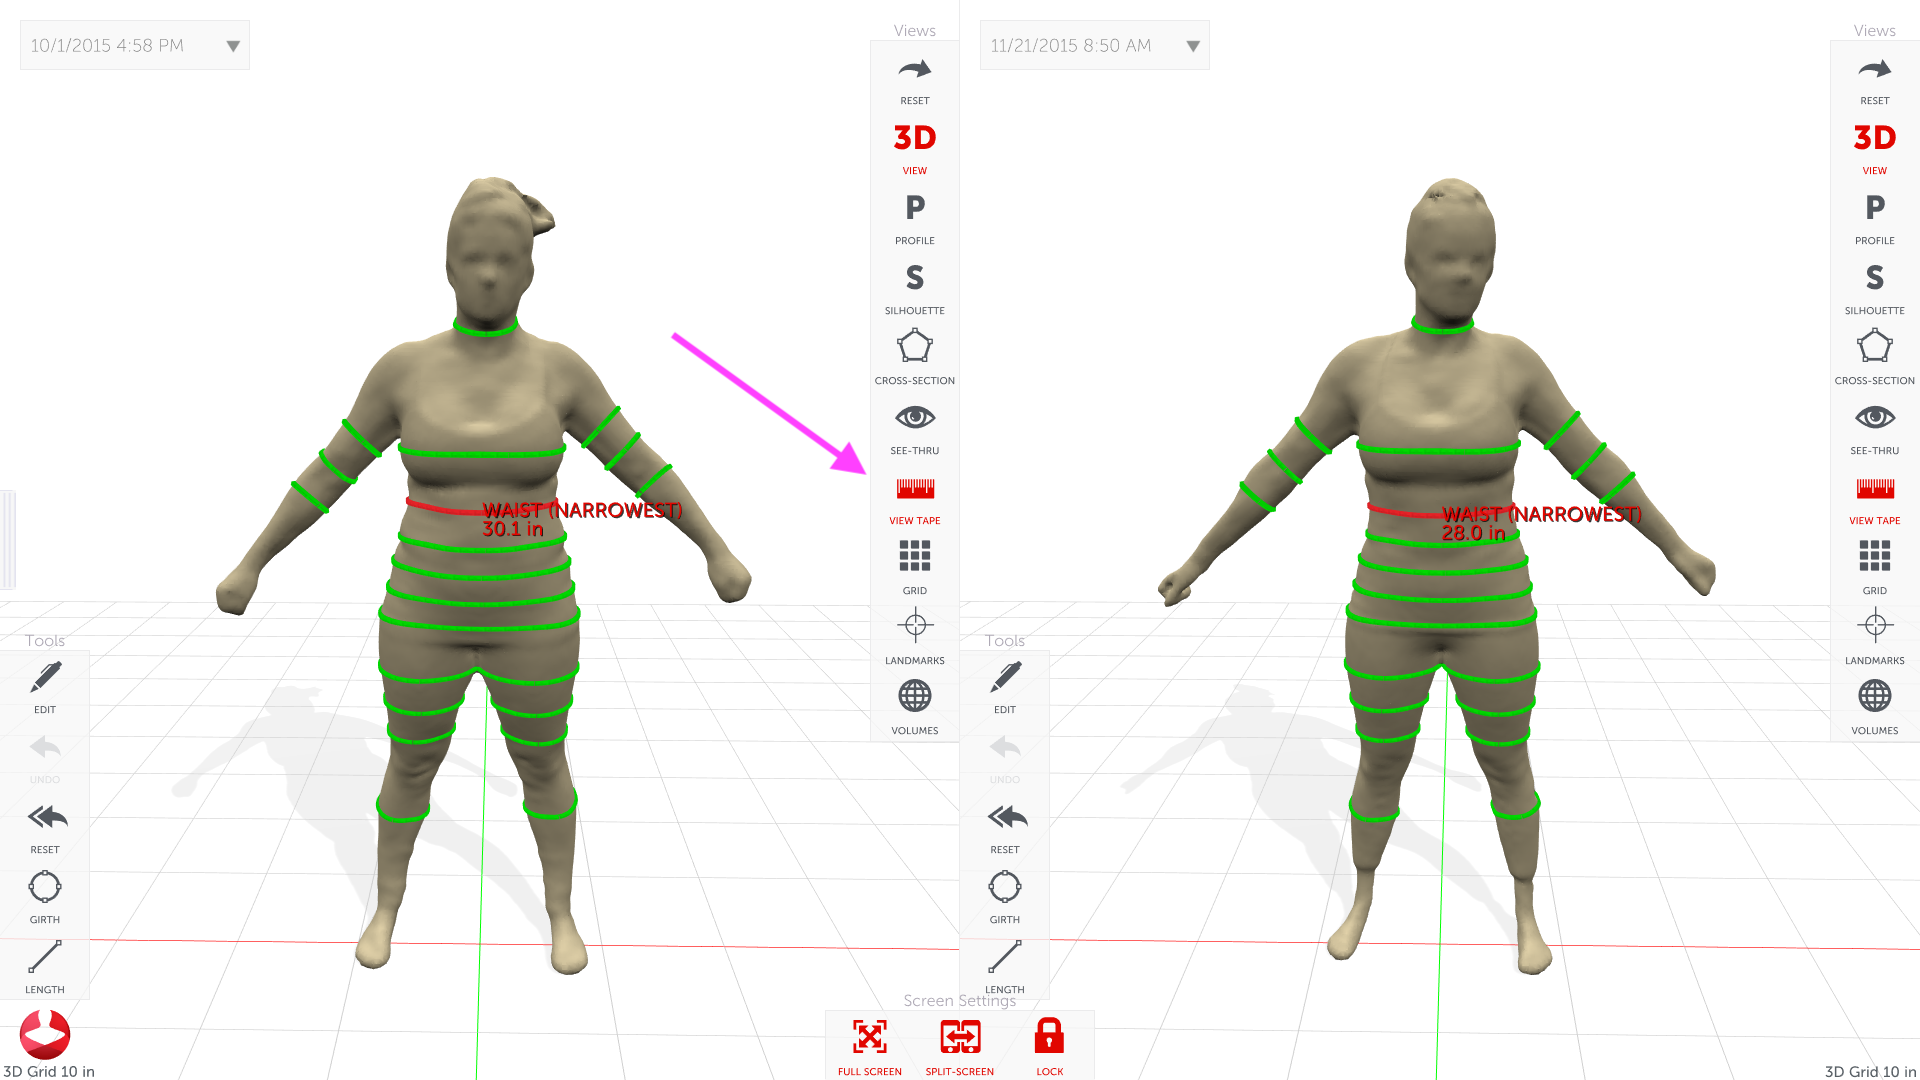
Option 2 : Compare scans visually side-by-side using the Split Screen view.
Step 1: Press the split screen button on the lower right. Press full screen if you'd like a bigger visual.
Step 2: The 3D view will be split in two with the oldest scan on the left, and the newest scan on the right. The two views are locked. If you click a measurement on one scan the measurement will highlight on the other scan. If you move a scan the other scan will move exactly the same.
-1.png)
Step 3: To get a clearer visual of the body, you can turn off the green measurement lines by pressing the view tape button.
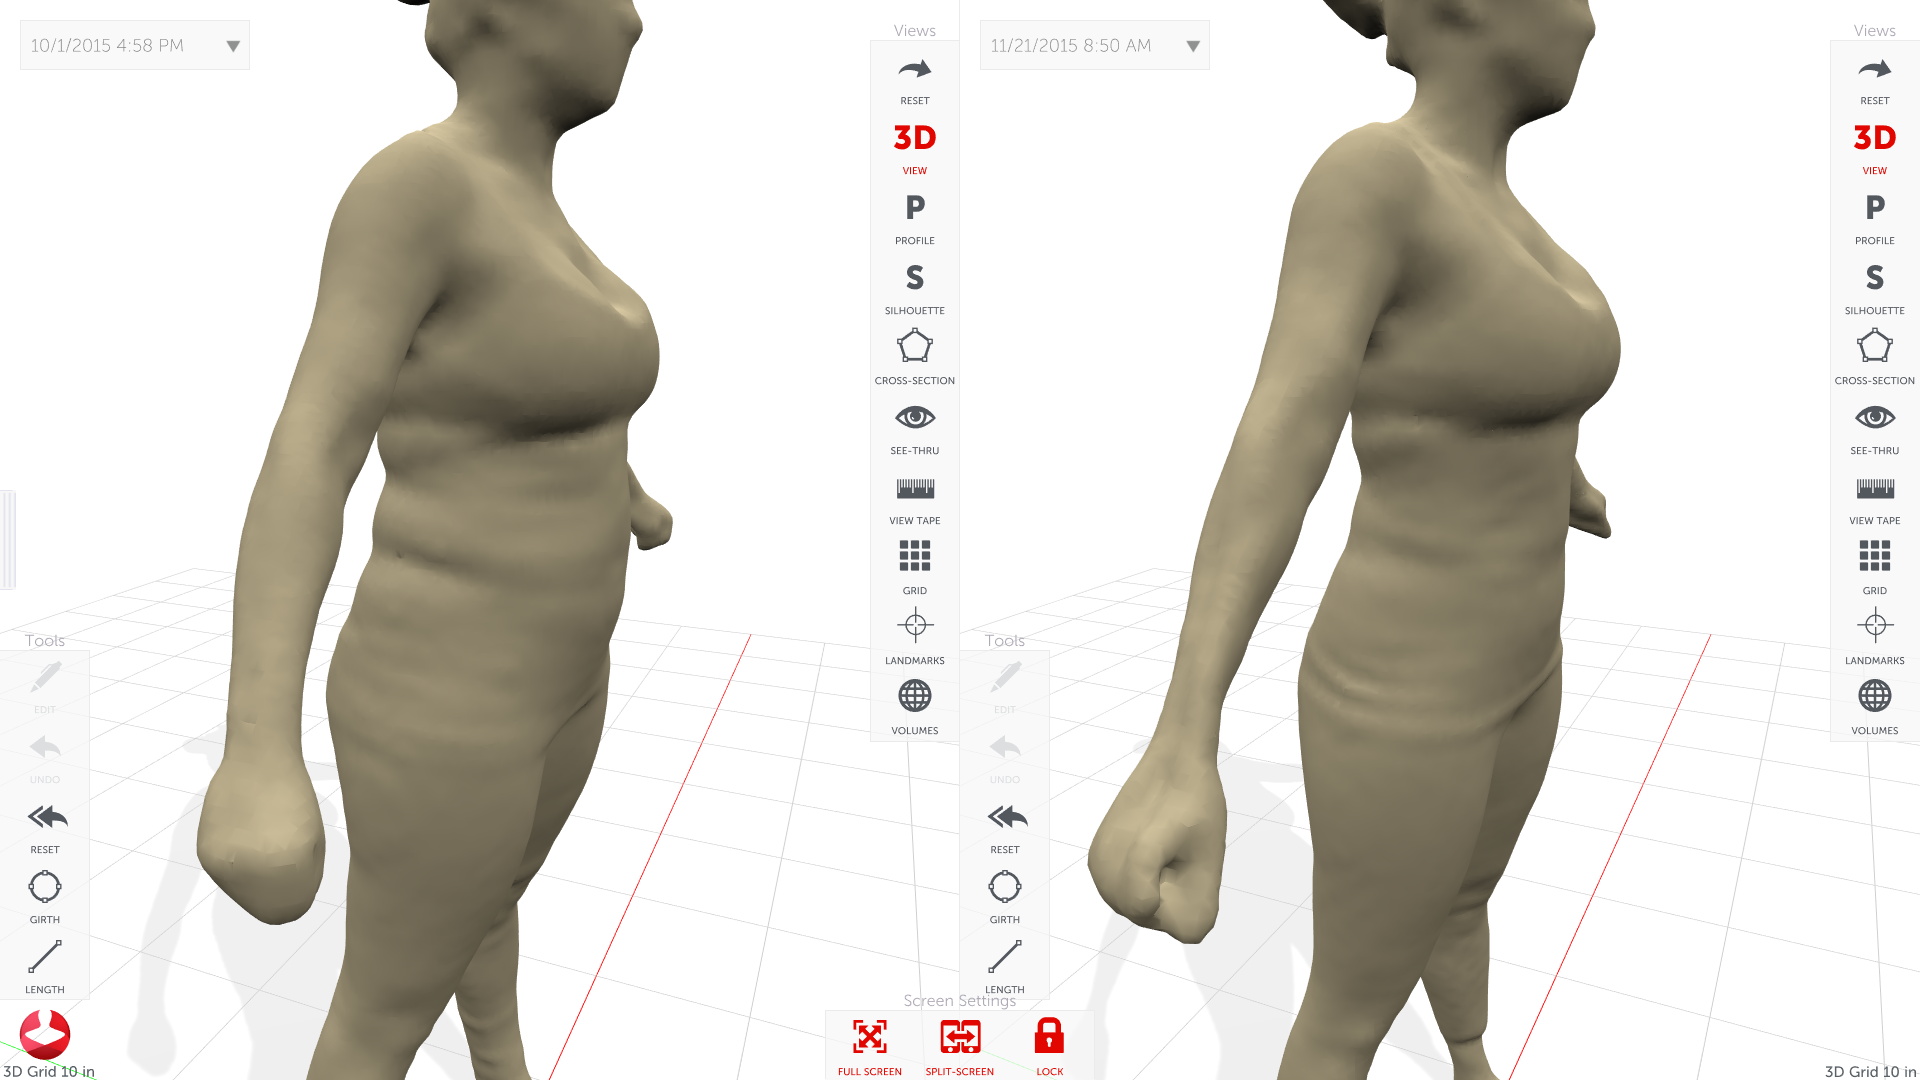
Step 4: Rotate and zoom in on the scans to view the visual from all angles.
How to move and rotate the 3D view
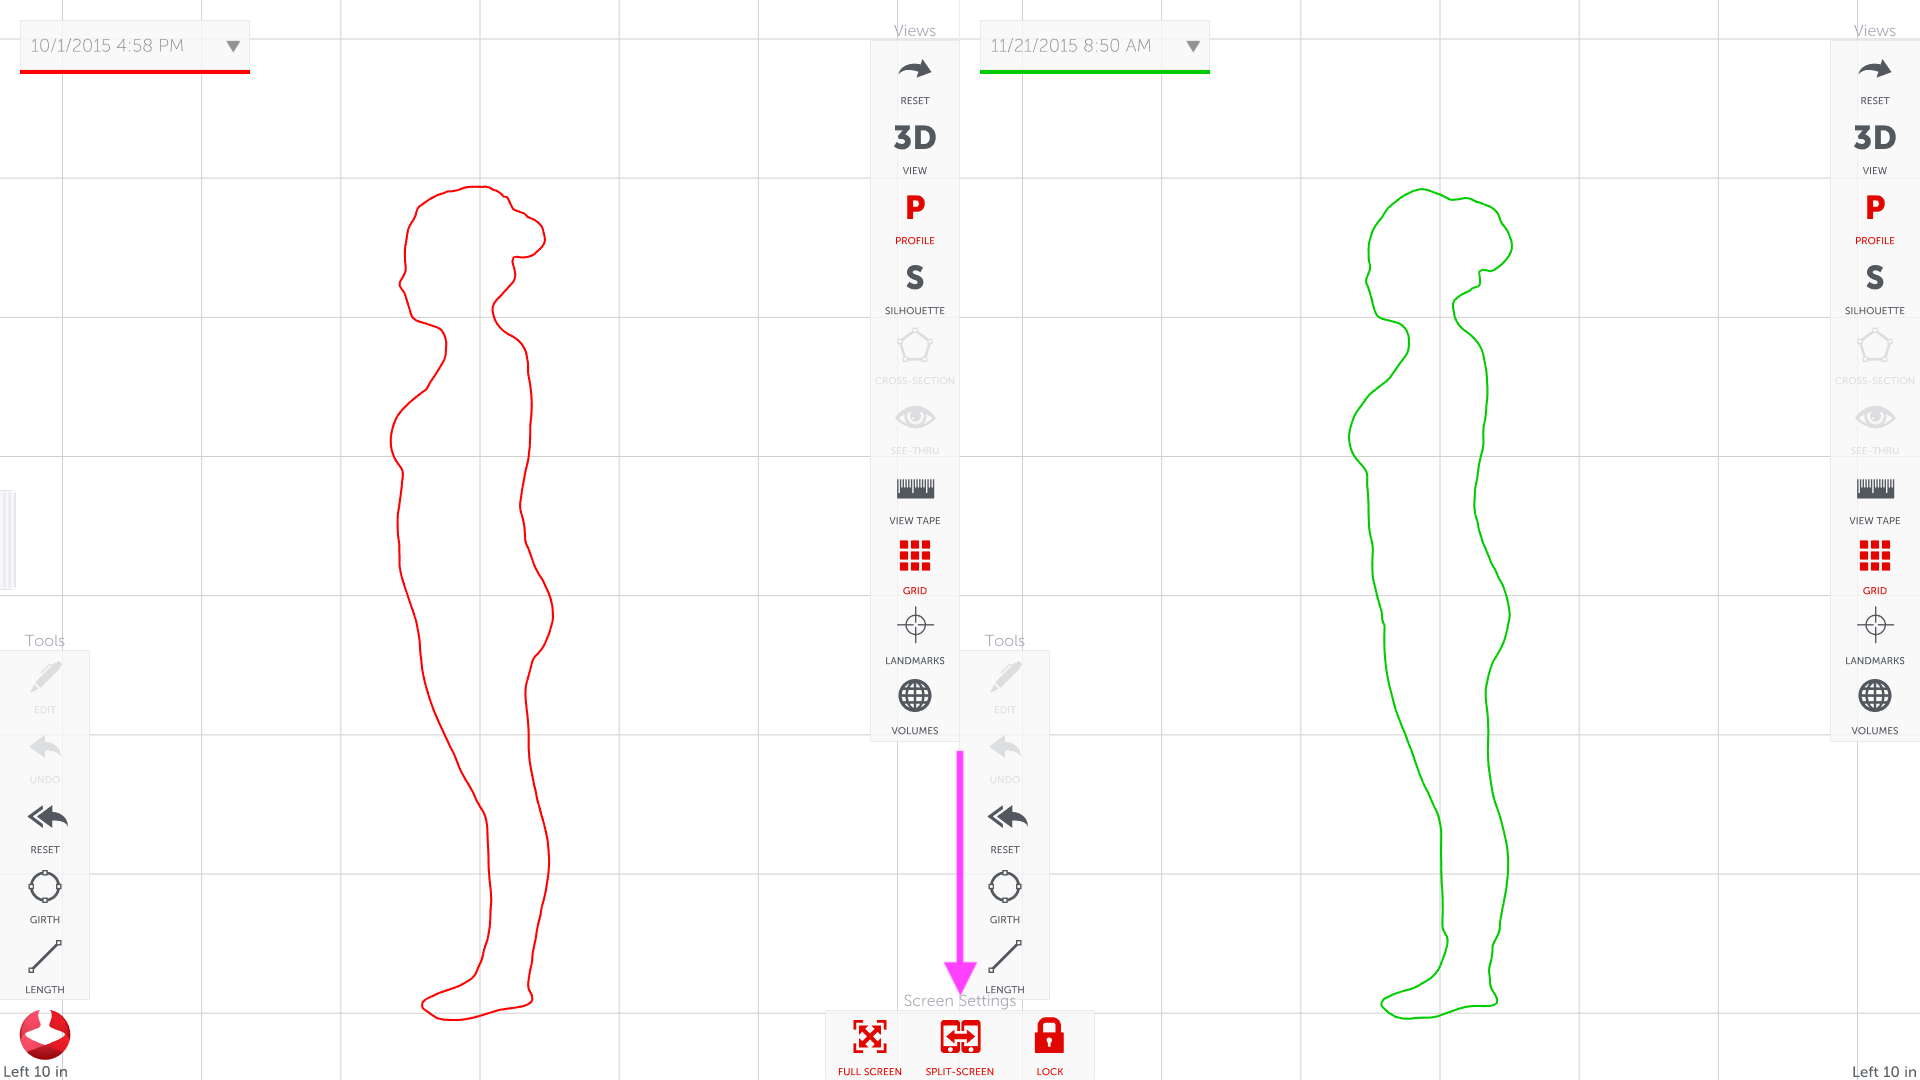
Option 3 : Show progress using the profile and silhouette views.
Step 1: To turn on the profile view click the profile (P) button in the top right.

Step 2: When in profile view click split screen on the bottom right to do a profile overlay.
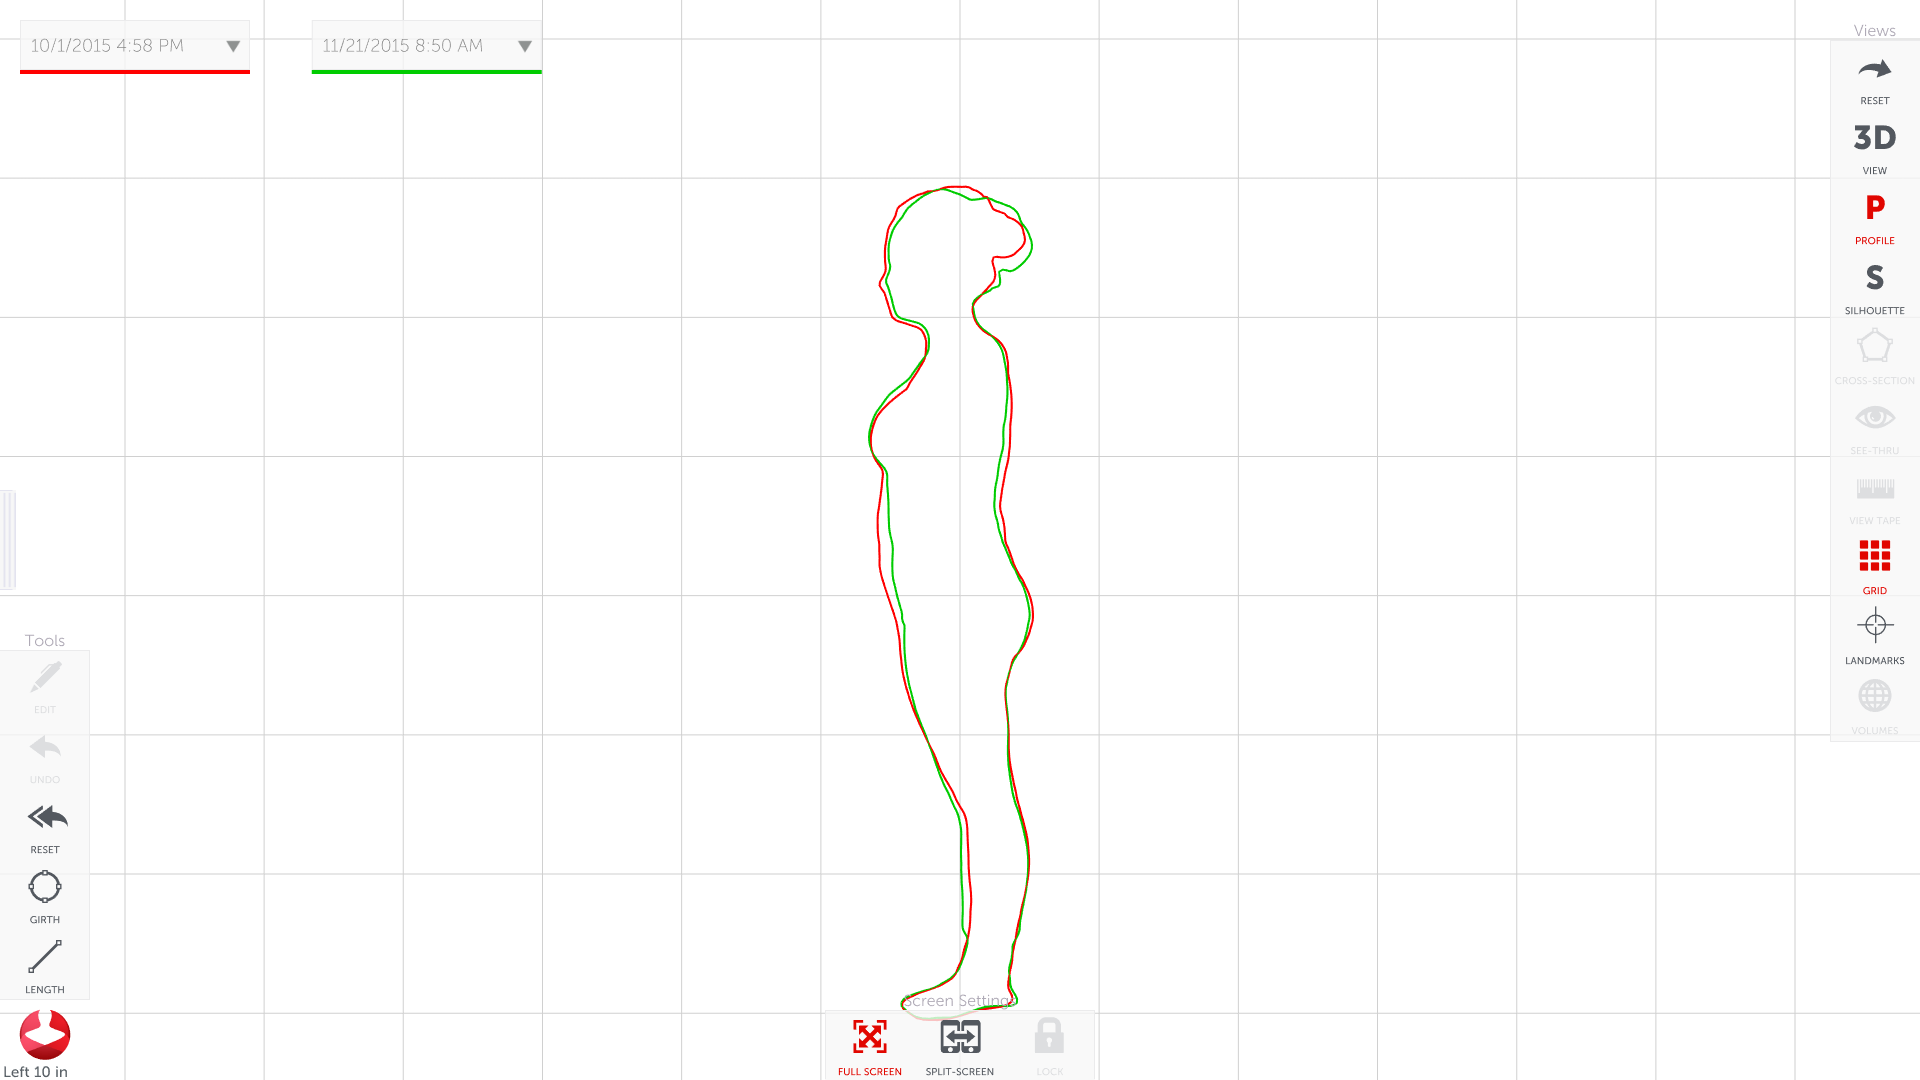
Step 3: You can switch to the silhouette view by pressing the silhouette button (S) button on the right.
Step 4: The silhouette view provide a look at the body outline from the front.
-4.png)
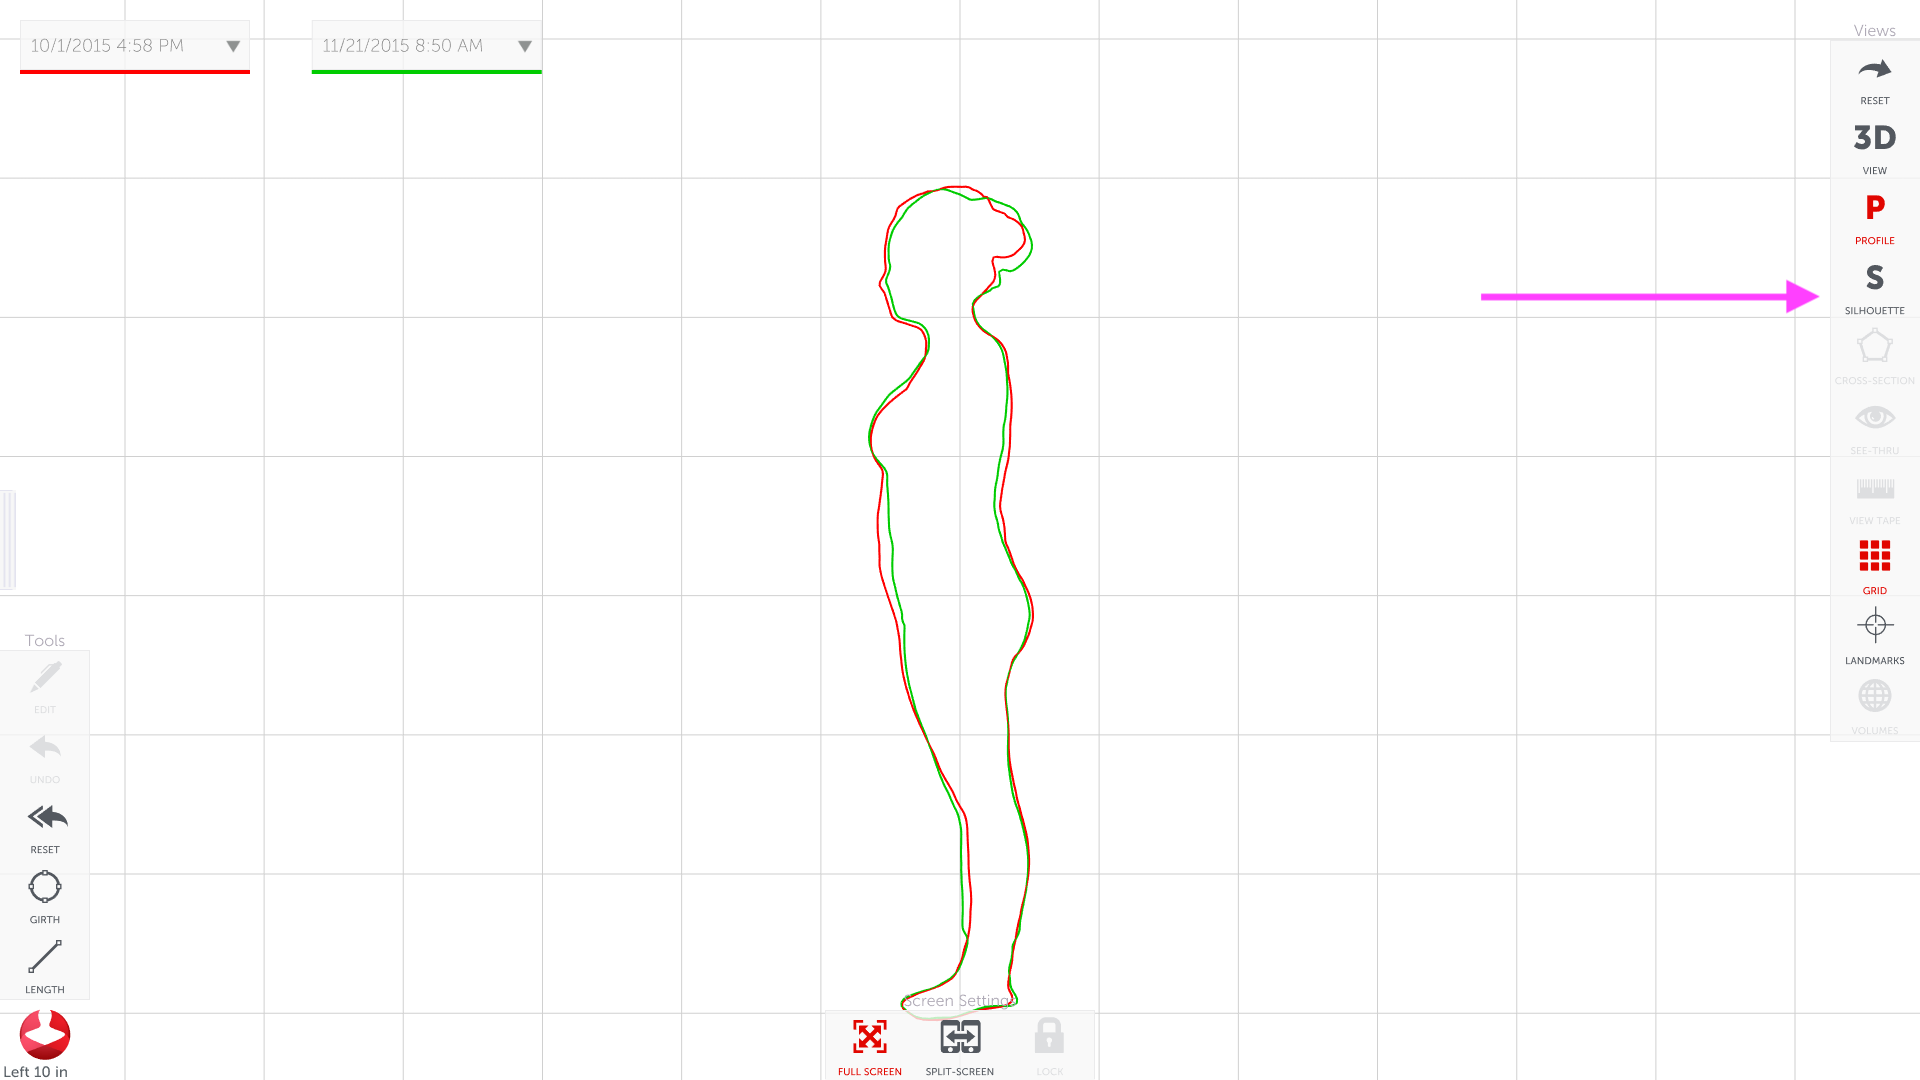
Step 5: Pressing the Split-Screen button will split or merge the outlines.
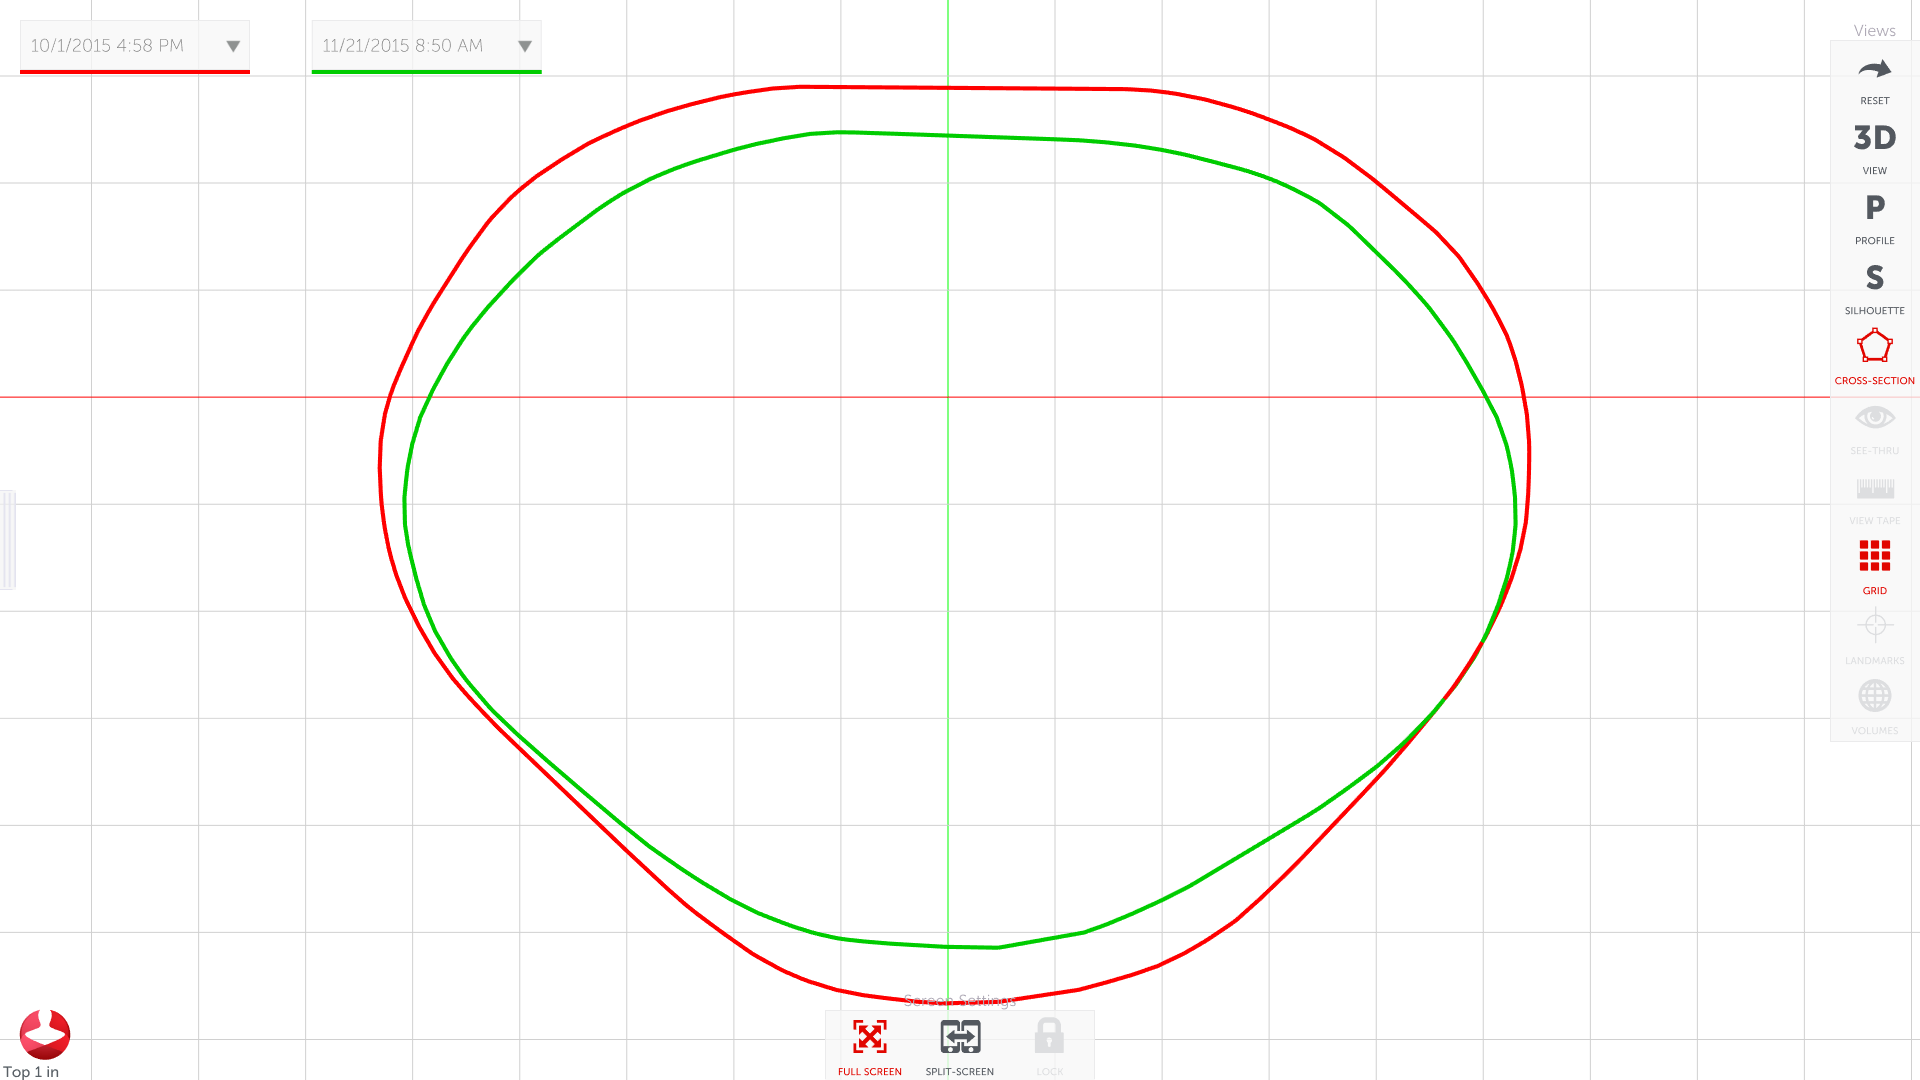
Option 4 : Show progress using the cross section view.
Step 1: Select a measurement you'd like to view as a cross section.
Step 2: Press the cross section button on the right.
Step 3: If more than one body is loaded, the earlier scan will be shown in red, and the newer scan in green.
Option 5 : Send your customer a progress report.
Step 1: Press the Share button at the bottom of the screen.
-png.png)
-png.png)
-png.png)
-png.png)