Step 1 : Press the Open Profile button and open a sample scan. You'll use this to test your changes to the 3D body scan.
Learn how to open scans into the software here
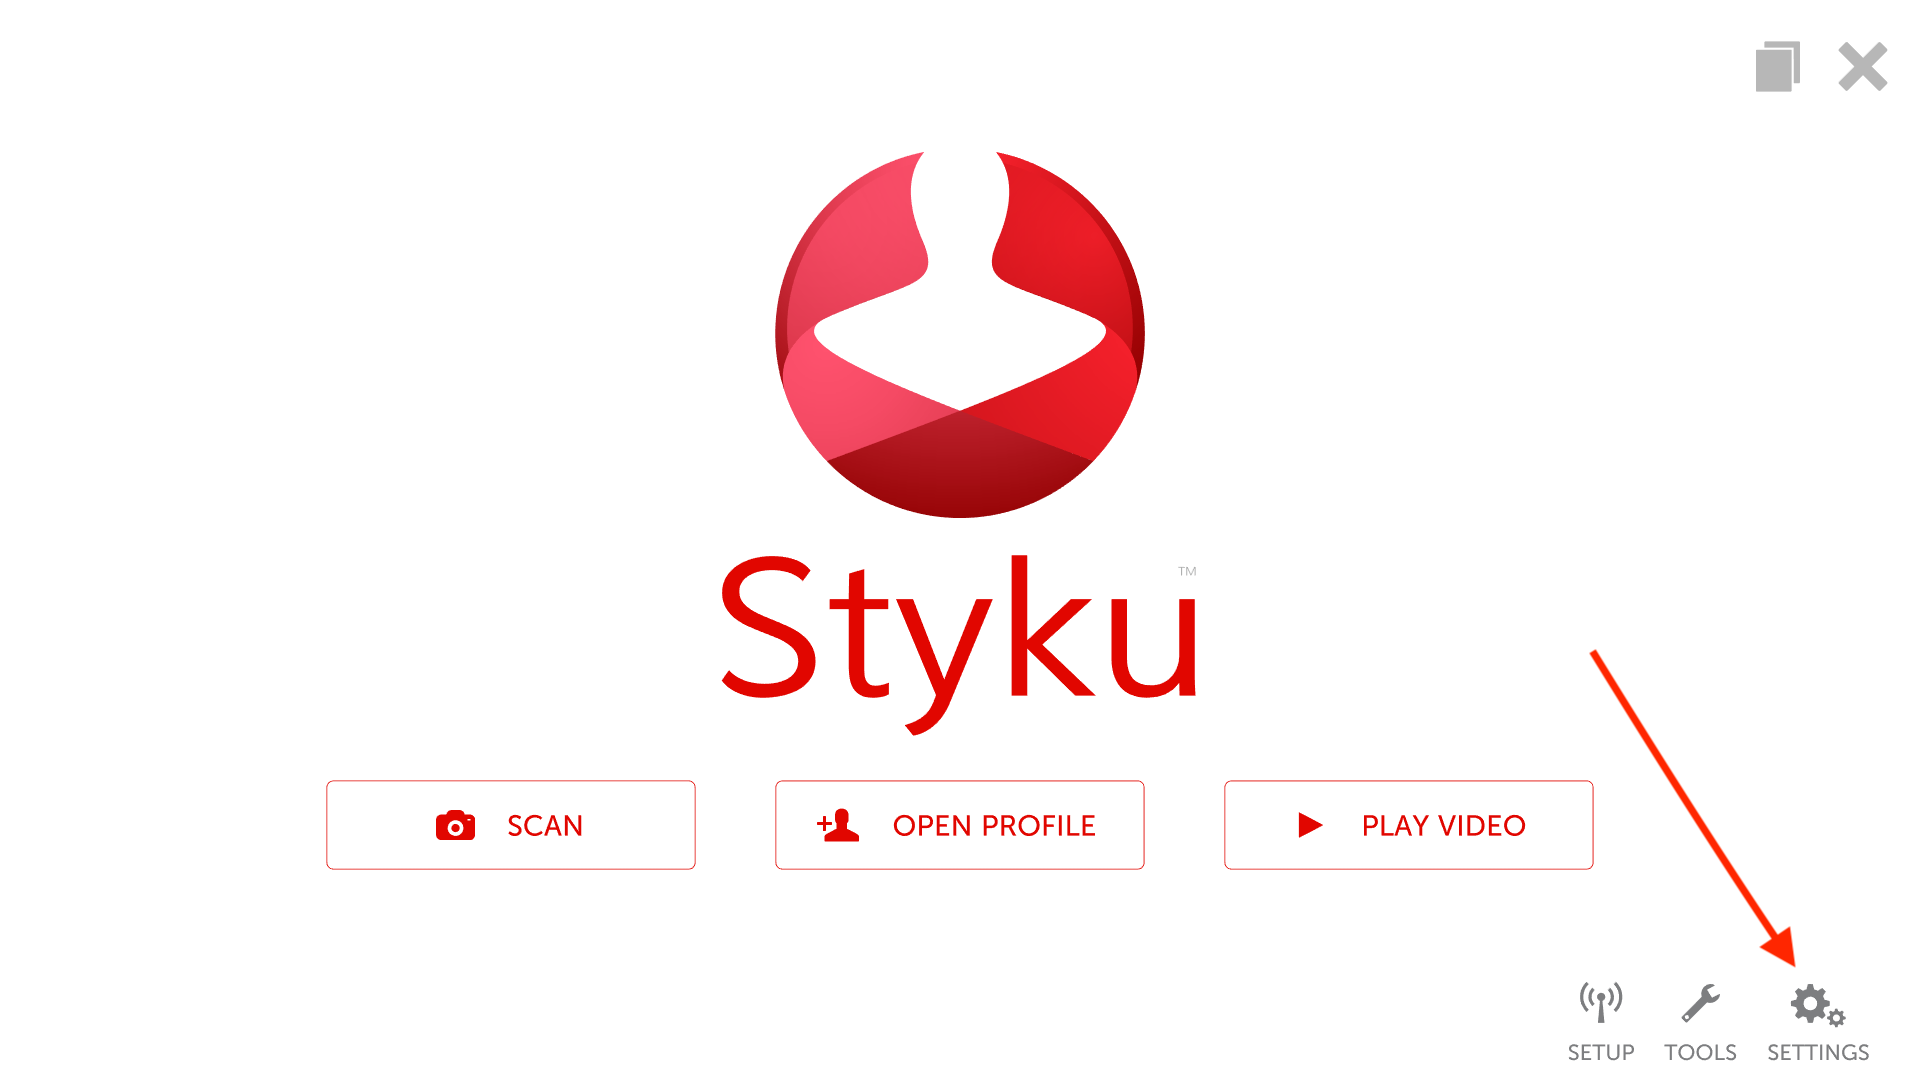
Step 2 : Press the Settings button to open the Settings menu.
Step 3 : Choose the Software Language, Updates and Display option.
%20copy.png)
Step 4 : Press the Advanced tab to load the Advanced options.
-2.png)
Step 5 : Enter your credentials to log into your administrator account.
.png)
Step 6 : Choose the Scan Appearance option.
-2.png)
Step 7 : Press and drag in the color bar area to change the color of the 3D model. As you drag, the window will become transparent so you can see your changes on the 3D body scan you loaded.
-2.png)
-1.png)
Step 8 : If you prefer a metallic look, you can press the Quicksilver check box. This will change the look of the 3D scan to a "liquid metal"-style look.
-2.png)
.png)